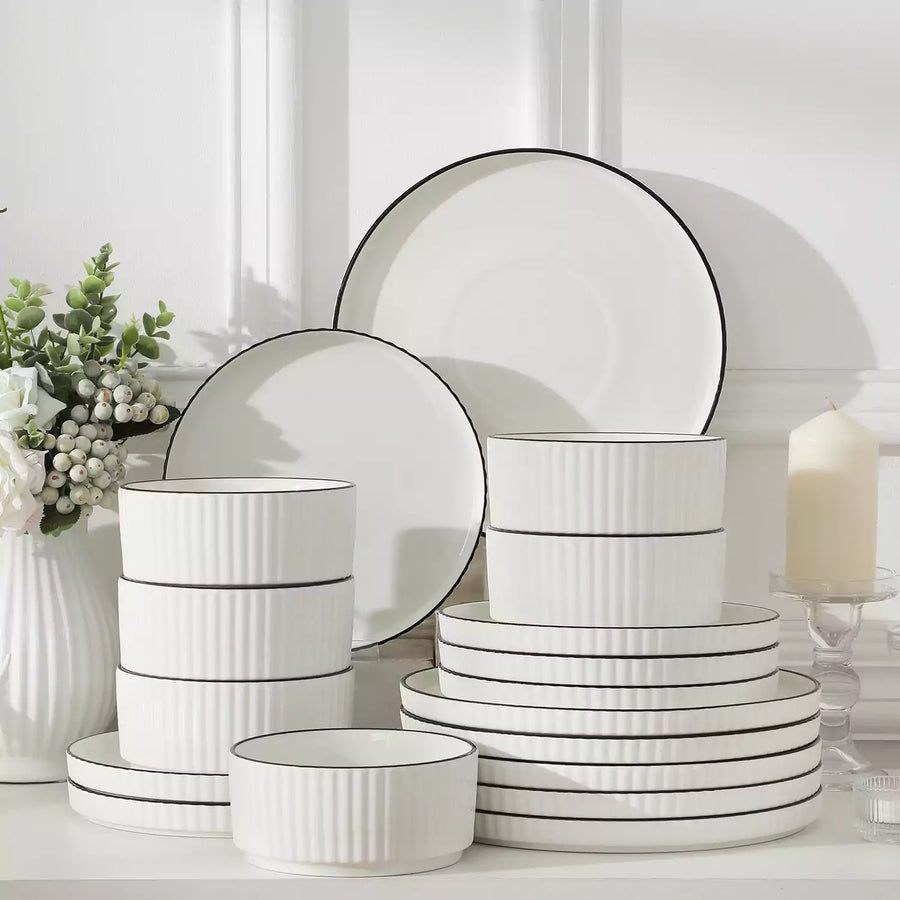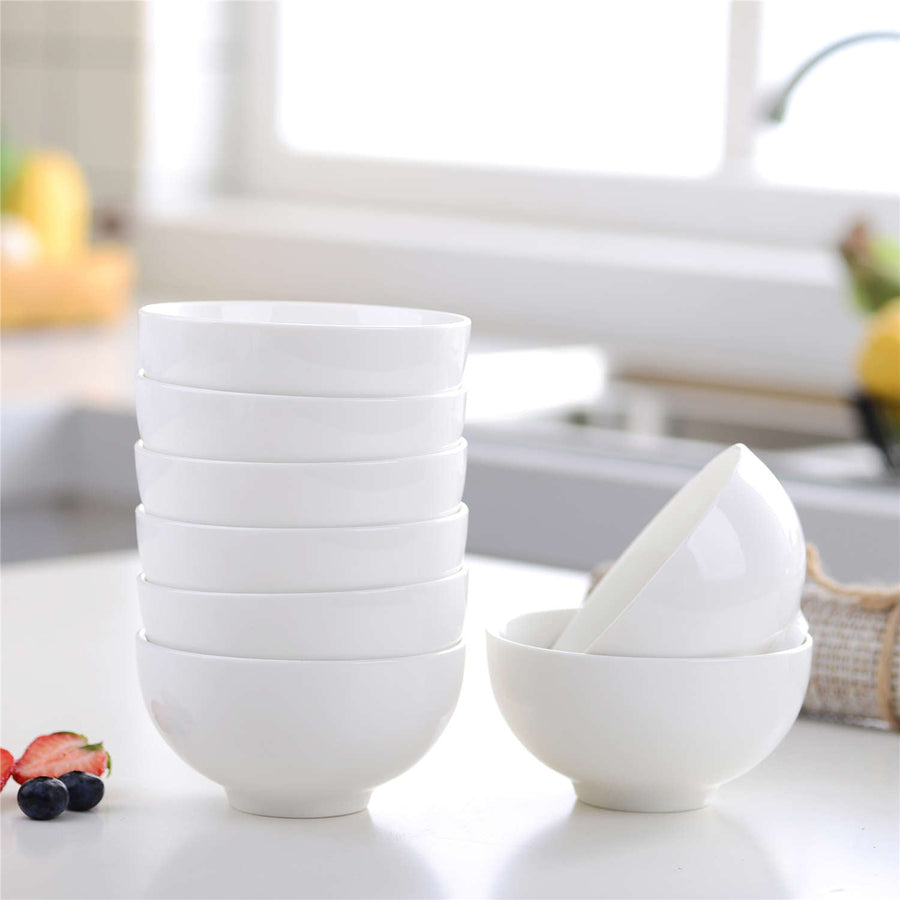



Ceramic cups work well for makeup brush storage when they have a stable base, a smooth interior, and enough room for the brushes you use. Store fully dry brushes with their handles down and bristles above the rim. A mug you already own may fit perfectly, but its height and opening matter more than its liquid capacity. The aim is to keep brushes easy to reach without bending the bristles or crowding your counter.
Why Ceramic Cups Work for Everyday Brush Storage
A ceramic cup can keep your daily brushes visible and within reach while fitting in with the rest of your vanity. A broad base and sufficient weight help it stay steady as you remove a brush, while a smooth glazed interior makes accumulated powder easier to wash away.
Both porcelain and stoneware cups can serve this purpose. The practical choice comes down to the individual cup: how it sits on the counter, whether its rim is smooth, and how comfortably your brushes fit inside.

Choose a Cup That Fits Your Brushes
Choose by usable dimensions, not ounces. Two cups with the same capacity can have very different shapes. A low, wide cup may suit shorter tools, while a taller mug can support longer handles. Neither shape suits every brush collection.

Start with the shortest and longest brushes you plan to store. Place them in the cup, then add the rest of your daily set. Use these checks before settling on a size:
| Feature | What to Look For | Why It Matters |
| Usable height | The shortest brush’s bristles clear the rim, and longer brushes remain balanced. | A deep cup can hide short brushes or press against their bristles. |
| Cup opening | You can lift out one brush without pulling several others along. | A narrow opening can bunch large brush heads together. |
| Base | The cup sits flat and stays steady during normal use. | Tall brushes can make a narrow, lightweight cup easier to tip. |
| Rim and interior | Smooth surfaces without chips, rough patches, or flaking decoration. | These surfaces are easier to clean and less likely to catch brush hairs. |
| Counter footprint | The base and handle fit within the available space. | A mug’s handle can take up more room than its listed diameter suggests. |

For a daily set of larger face brushes, a wide-opening porcelain mug gives you room to separate the handles as you reach for a powder or blush brush.
When buying online, check whether the listed height is an exterior measurement. A thick base reduces the depth inside, and a tapered opening may be narrower than the cup’s widest point. Look for interior measurements when the fit is close.

Arrange Brushes Without Crowding the Bristles
Build the arrangement around the tools you actually reach for. Keeping occasional-use brushes elsewhere can free enough space to make an existing cup work better.

- Group by handle length. Put long face brushes together and shorter eye brushes in a lower cup if they disappear among the larger tools. Separating them makes small brushes easier to spot and grasp.
- Leave room to remove each brush. The heads can sit near one another, but they should not be wedged tightly together or forced sideways against the rim. Split the set when removing one brush disturbs the whole arrangement.
- Separate brushes waiting to be washed. Keep brushes with visible product buildup apart from freshly cleaned tools. A small washable dish can hold them temporarily without taking over the main cup.
- Choose a protected position. Set the cup on a level surface, back from the counter edge and away from sink splashes or direct shower steam. If an open vanity collects dust quickly, place the cup inside a clean cabinet with clearance above the bristles.

Keep the Cup and Brushes Clean and Dry
Empty the cup when you wash your brushes so you can remove the powder and residue collecting at the bottom. For a sturdy cup with an intact glaze, wash with lukewarm water, a little dish soap, and a soft sponge. Rinse thoroughly, wipe away excess water, and let the interior and base dry before refilling it.

Follow the cup’s care instructions, particularly for metallic decoration or hand-painted details. Use a dishwasher only when that specific cup is marked dishwasher-safe.
Dry washed brushes flat before returning them to the cup. Gently squeeze out excess water, reshape the heads, and lay brushes flat to dry on a clean towel with the tips extending beyond the counter edge. Drying them upright can let water run toward the glue joining the head and handle. A general cleaning interval is every 7–10 days, adjusted to the brush maker’s instructions and product buildup.

Create a Simple, Coordinated Vanity Setup
Use color and placement to connect the cup with accessories already on your counter. A white cup beside a white soap dish creates continuity; a textured stoneware cup can add interest to a plain surface. Keep taller bottles behind the brushes so they do not block your hand as you reach in.
A small ceramic tray can group the brush cup with a ring dish or other daily essentials. Choose one large enough to support the cup’s entire base, and leave enough space between items to lift the cup out for cleaning.

Makeup Brush Storage Questions Answered
Q1. How Should I Store Double-Ended Makeup Brushes?
Lay double-ended brushes horizontally in a clean compartment or fitted case that keeps both heads from being crushed. Standing one in a cup usually places a brush head against the bottom. Leave enough room around both ends so neighboring tools do not bend the bristles.
Q2. Do I Need Beads in the Bottom of the Cup?
No. A cup that fits your brushes can hold them without filler. Beads add another surface to clean and make powder harder to remove from the bottom. If you use washable glass beads for support, remove, wash, and dry them separately when cleaning the cup.
Q3. Can I Reuse a Mug That Smells Like Coffee?
Yes, once it has been thoroughly cleaned and the smell is gone. Wash the interior and rim with dish soap, rinse well, and let it dry before checking again. If an odor or greasy film remains, choose another clean cup for your brushes.
Q4. Can I Keep Eye Pencils With My Brushes?
Yes, if the pencils are capped and easy to distinguish from the brush handles. Keep uncapped tips and pencil shavings out of the holder. If the mixed contents make tools hard to find, give pencils their own narrow container or a separate drawer compartment.
Q5. How Should I Pack Makeup Brushes for Travel?
Pack dry brushes in a clean brush roll or protective case sized for their full length. Keep the heads clear of zippers and crowded makeup compartments. A rigid case can help protect them from pressure inside luggage, while the ceramic cup stays on your vanity.