

A good cookie decorating table should look inviting while giving every guest enough room to work. Start with a simple color palette, divide the table into clear zones, and keep icing and decorations within easy reach. Use plates and small bowls to contain the mess, then reserve a separate area for cookies to dry. These cookie decorating table ideas work for holiday gatherings, birthdays, showers, and relaxed afternoons with family or friends.
Quick Cookie Decorating Table Checklist
Prepare the essentials before you begin styling the table:
- Fully cooled, undecorated cookies
- Icing in piping bags or squeeze bottles
- Sprinkles and other edible decorations
- Small bowls, spoons, toothpicks, and napkins
- A plate, tray, or lined work surface for each guest
- Extra parchment paper and damp cloths for cleanup
- Trays or racks for drying finished cookies
- Boxes or containers for cookies going home
- Ingredient and allergen labels when needed
You do not need every decorating tool available. A smaller, well-organized selection is easier to share and keeps the table from becoming crowded.
Plan the Table Around the Number of Guests
First, decide where people will sit or stand. Each guest needs space for a working surface, several cookies, and the natural movement of piping and reaching. If chairs are close together, move shared supplies to more than one point on the table instead of creating one crowded centerpiece.
A simple layout uses three zones:
- Undecorated cookies and clean tools: Place these at one end or on a nearby counter.
- Active decorating space: Give each person a plate, small tray, or sheet of parchment paper.
- Finished-cookie area: Keep this separate so wet designs are not bumped or stacked.
For a small group, shared icing and sprinkle bowls in the center may be enough. At a longer table, duplicate popular colors and decorations at both ends. This reduces reaching across other guests and helps the activity move smoothly.
Choose a Simple Color Palette and Theme
Two or three main colors usually create a more coordinated table than a large mix of unrelated shades. Begin with the occasion, then repeat those colors through the icing, napkins, table runner, and a few decorations.
The cookies can echo the dinnerware without copying it exactly. Floral plates may inspire leaf, flower, or vine details. Square or angular plates pair naturally with geometric cookie designs. Plain white or neutral dessert plates give colorful icing a clean background and work across many themes.
Try one of these combinations:
- Winter gathering: White, evergreen, and soft gold
- Birthday party: One favorite color, white, and a brighter accent
- Spring shower: Pale pink, lavender, and soft green
- Minimalist adult party: Ivory, cocoa brown, and muted blue
Keep tall flowers, candles, and decorative objects away from the working area. Low decorations preserve sightlines and leave more space for the activity.

Arrange Icing and Decorations for Easy Sharing
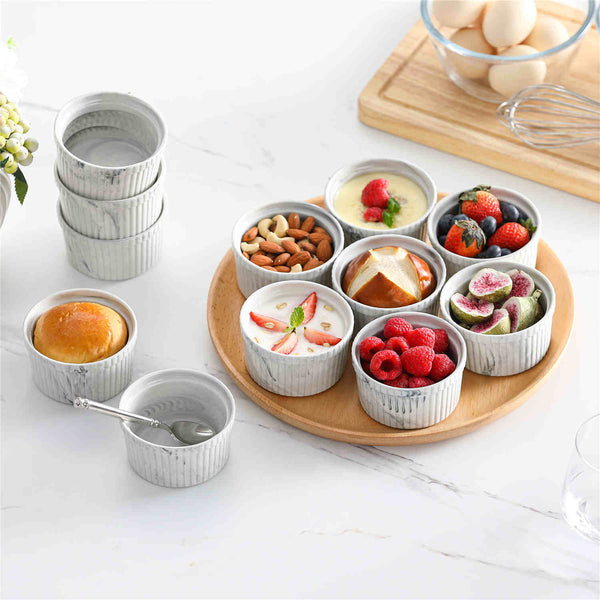
Organize supplies by how guests will use them. Keep piping bags or squeeze bottles together, arrange sprinkles by color or type, and place tools beside the ingredients they belong with. Small porcelain ramekins can hold sprinkles, sanding sugar, candies, or clean decorating tools while keeping each option visible.
Avoid setting out full packages when smaller portions will do. Refill bowls as needed, especially when decorating with children. This limits spills and leaves more open table space.
If a guest has a food allergy, check the ingredient information on every cookie, icing, sprinkle, and candy package. The FDA advises consumers to read the full ingredient list because packaged foods may identify allergens in different ways. Keep suitable ingredients and utensils separate, and label them clearly to reduce accidental allergen exposure.
Use Dinnerware to Organize and Display the Cookies
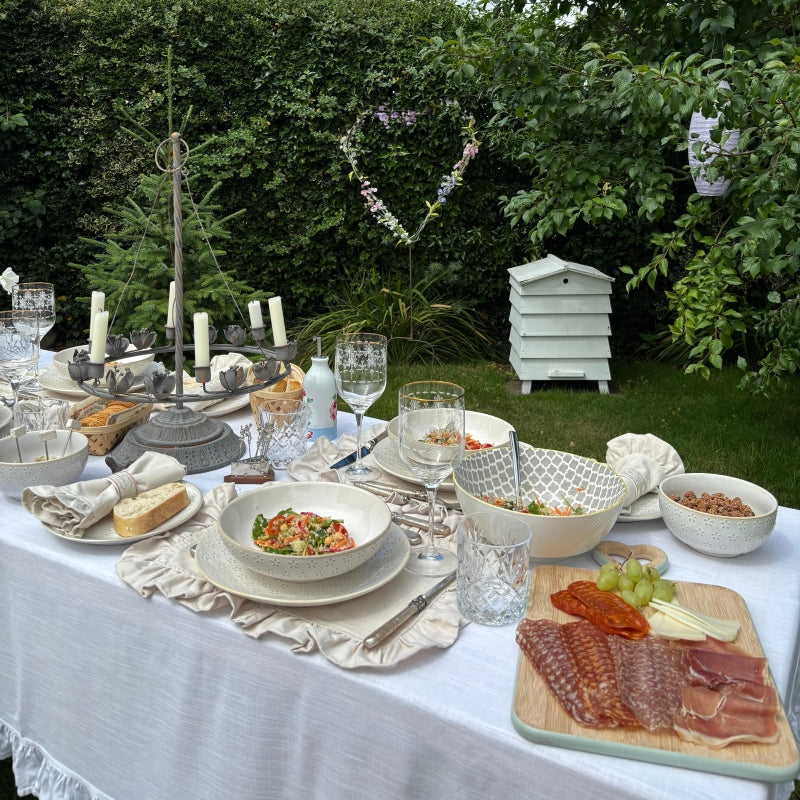
Dinnerware can give the table structure as well as style. Use small plates as individual work surfaces, bowls for toppings, and platters for undecorated cookies. A large platter at the starting end of the table lets guests choose a few shapes without crowding the active decorating area.
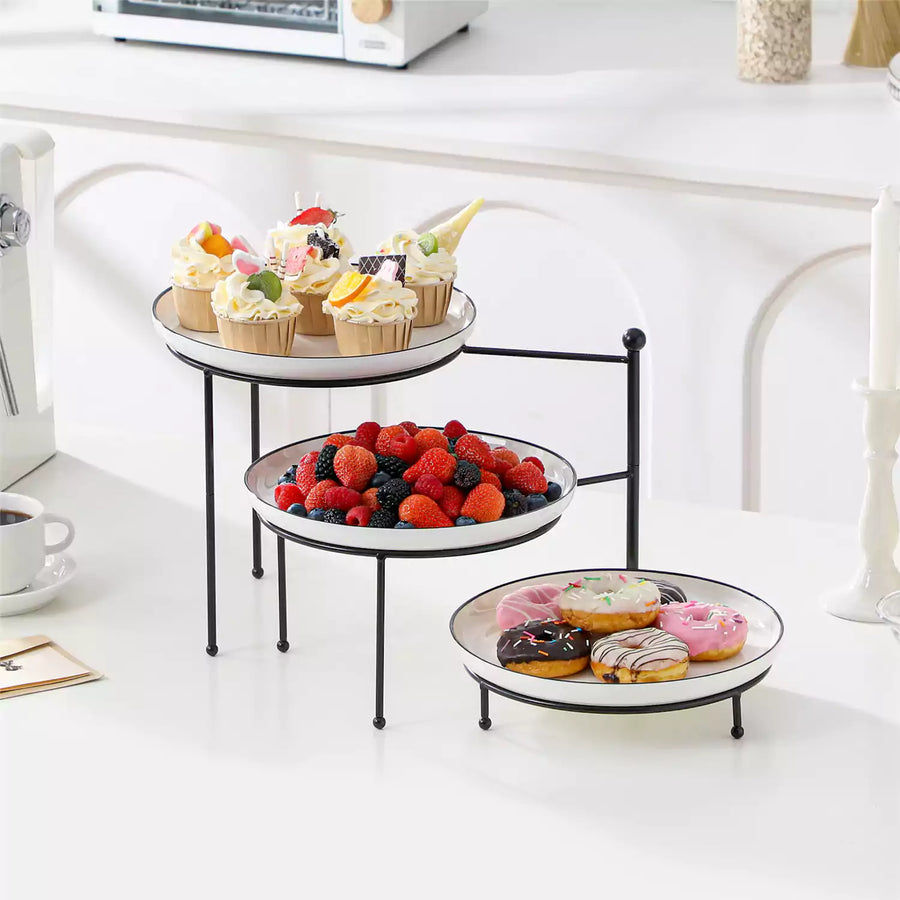
Varying height makes a finished display easier to see, but stability matters more than drama. A tiered stand can hold cookies once their icing is dry enough to move. Keep wet cookies on flat trays or racks until the surface has set. Our serveware collection includes platters and tiered pieces that can help separate the display from the working supplies.
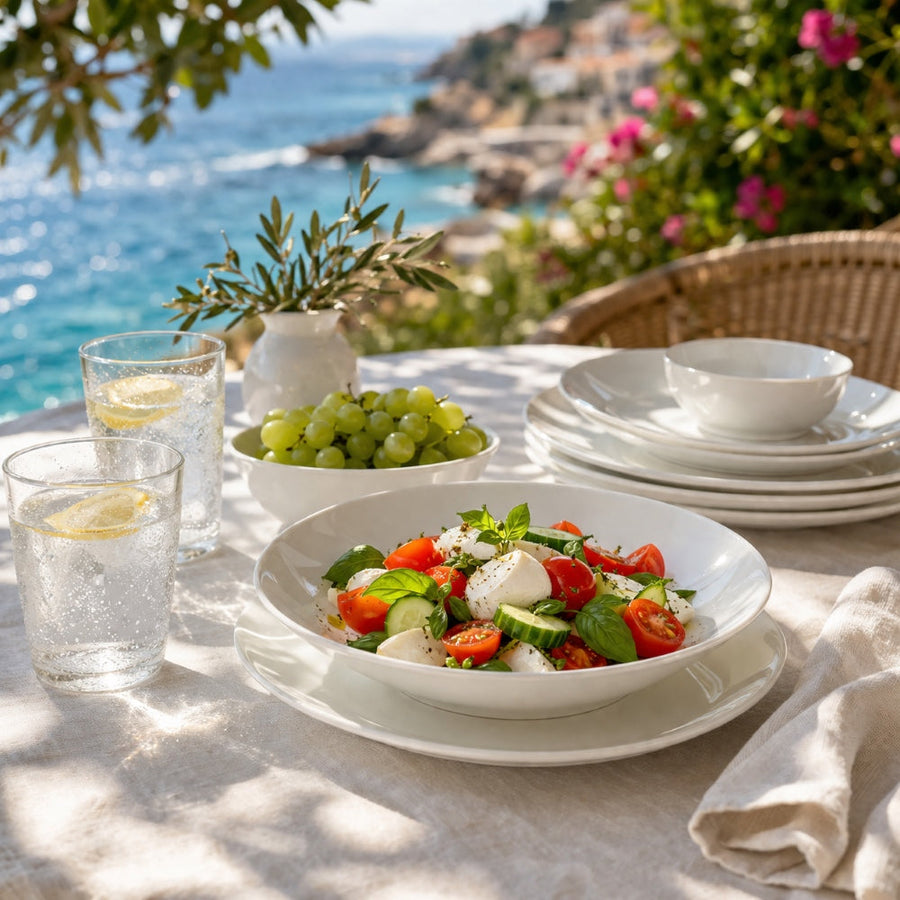
For a cohesive look, repeat one shape, finish, or color across the serving pieces. A matching set creates a polished effect, while a mix of white porcelain shapes feels relaxed and still lets the decorated cookies remain the focus.

Protect the Table and Make Cleanup Easier
Cookie decorating involves crumbs, sugar, and drops of icing, so plan for cleanup before guests arrive. Cover delicate surfaces with a washable tablecloth, wipeable placemats, parchment sheets, or a paper runner. Remove anything nearby that is difficult to clean, including upholstered chairs or a rug directly beneath the table.
Place a small discard bowl at each end for used toothpicks, empty piping bags, and torn napkins. Keep damp cloths nearby for sticky hands, but use separate cloths for wiping the table and cleaning serving pieces. A lined tray under shared icing bags can catch drips before they spread.
Reusable plates and bowls can make the table feel more considered without adding work during the activity. Once the cookies are moved to the drying area, collect the small dishes in one pass and clear the working surface.
Adapt the Setup for Children and Beginners
Children and first-time decorators usually enjoy a smaller number of clear choices. Offer a few icing colors, easy-to-hold tools, and decorations that can be added without detailed piping. Put out one or two cookies per person at first, then replenish them as each design is finished.
Squeeze bottles can be easier for some small hands to control, while piping bags offer more detail for older children and adults. Choose the option that suits the group and the icing recipe. Secure piping bags at the top so icing does not escape from both ends.
An adult can manage refills and move completed cookies to the drying area. This keeps the center of the table calmer and protects designs that are still wet. Use age-appropriate decorations and supervise young children throughout the activity.
Create a Separate Drying and Take-Home Station
Finished cookies need their own flat, undisturbed space. Line baking sheets, trays, or cooling racks with parchment and label each guest's area. Follow the icing recipe's drying guidance before moving or packaging the cookies, because setting times vary by icing type, thickness, and room conditions.
Do not stack cookies while the surface is soft. If guests need to leave before the icing is firm, place the cookies in a single layer inside a shallow box or container. Add a piece of parchment beneath them and keep the box level during transport.
This station can also hold ribbons, tags, and empty take-home boxes. Keeping packaging away from open icing prevents it from taking over the decorating table.
Pair the Cookies With Simple Drinks and Snacks
A separate refreshment area keeps cups away from sleeves, elbows, and wet icing. Serve water, milk, coffee, tea, or cocoa on a nearby counter or side table. A few mugs and teacups can repeat the decorating table's color palette and make the gathering feel complete.
Choose snacks that are easy to eat without leaving greasy or salty fingers. If the decorated cookies are meant to go home, offer a small tray of ready-to-eat cookies so guests are not tempted to handle designs before they dry.
Final Tips for a Smooth Cookie Decorating Party
The most effective cookie decorating table balances appearance with movement. Choose a limited palette, give every item a clear place, and separate decorating, drying, and refreshments. Plates, bowls, and platters help organize the activity while connecting the cookies to the wider table setting. With the practical details handled in advance, guests can focus on decorating and enjoying time together.
Cookie Decorating Table FAQs
Q1: How Many Cookies Should You Prepare per Guest?
Plan around four to six cookies per guest for a casual decorating activity, then add a few extras for breakage or unexpected visitors. The right number depends on cookie size, the age of the group, and how long the activity will last. Put out only a few at a time.
Q2: Can You Set Up a Cookie Decorating Table the Night Before?
Yes. Arrange clean dishes, tools, table coverings, boxes, and decorations in advance. Keep cookies stored according to the recipe and icing properly covered until the activity begins. Add any ingredients that require temperature control only when you are ready to serve them.
Q3: What Icing Works Best for a Cookie Decorating Party?
Royal icing is useful for defined lines and designs that need to dry firm. A simpler cookie icing may suit casual decorating, while thicker frosting works well for spreading. Choose one tested recipe and prepare its consistency for the tools your guests will use.
Q4: How Can You Set Up a Cookie Decorating Station in a Small Space?
Use a nearby counter for undecorated cookies, refills, and finished-cookie trays. Keep only the current icing colors and toppings on the main table. Small bowls and vertical storage for clean tools save space, while duplicate supplies are unnecessary when every guest can reach the center comfortably.
Q5: How Do You Keep Piping Tips From Drying Out During the Party?
Follow the icing recipe's storage instructions and cover tips whenever they are not in use. Keep spare bags sealed until needed. If icing begins to crust or clog, replace or clean the tip instead of forcing it, which can cause sudden bursts and messy lines.