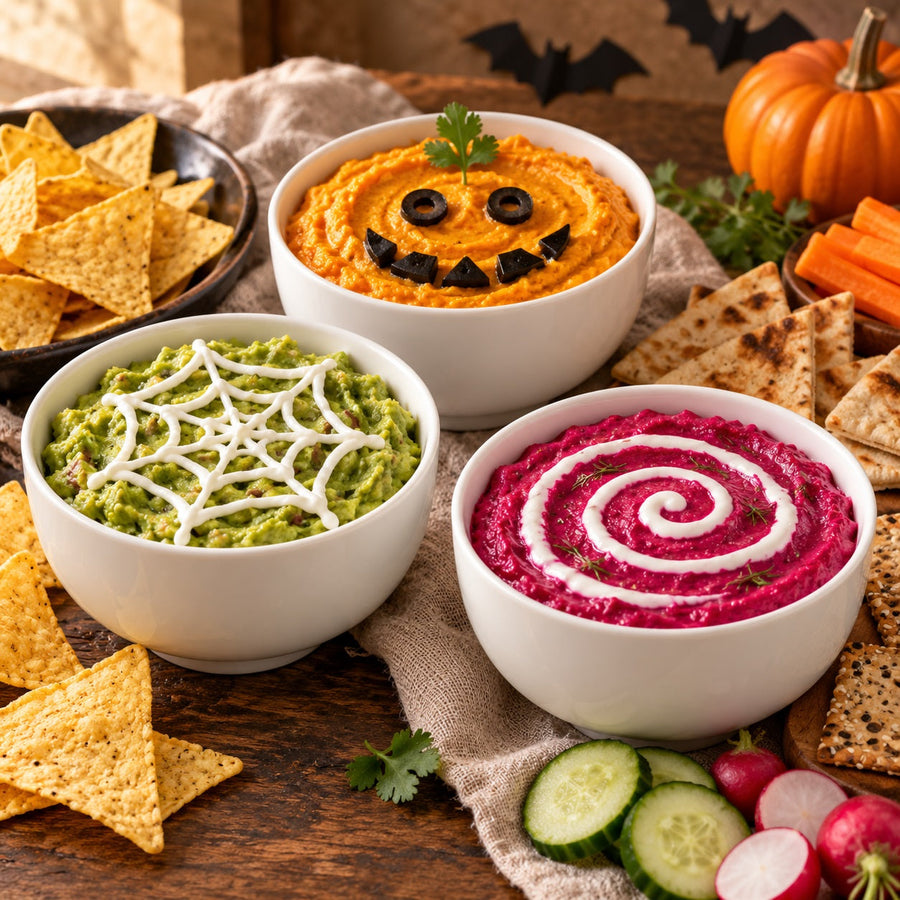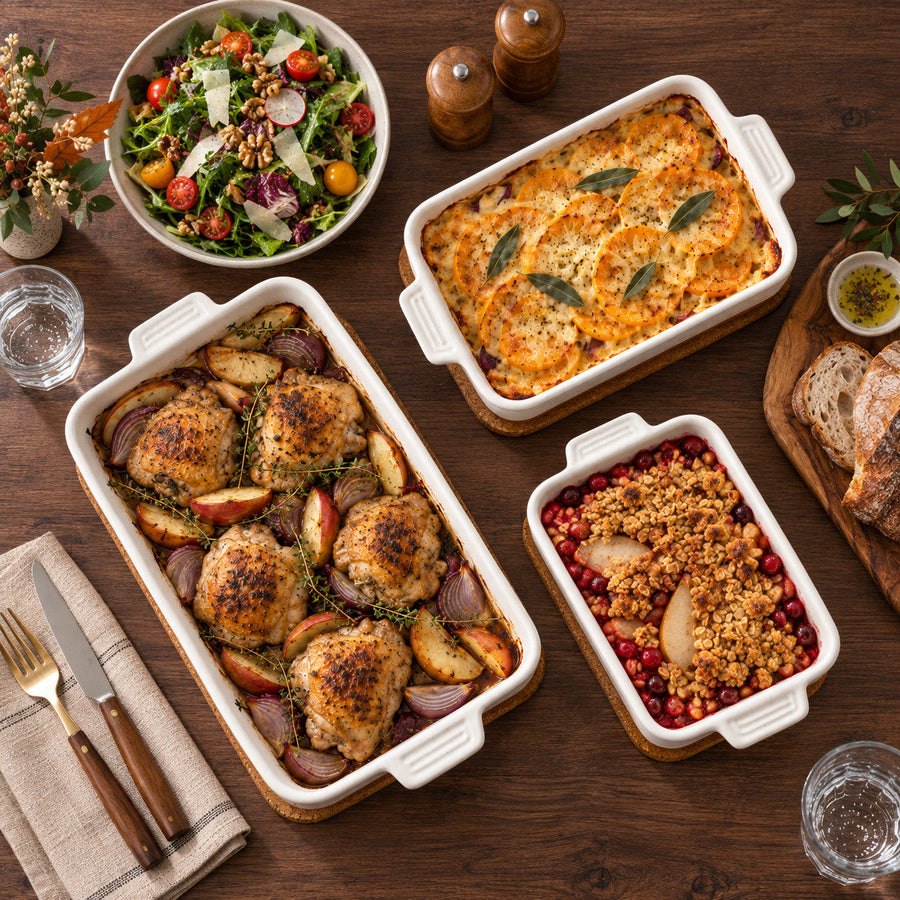


A Halloween party platter can be festive, delicious, and easy to prepare without spending hours in the kitchen. Three easy-to-make edible designs for Halloween charcuterie boards—mummy brie, cheddar jack-o'-lanterns, and salami pumpkins—can be made with a few cheeses, cured meats, crackers, fresh fruit, and simple decorating tools. The fun details make everyday party foods a fun Halloween snack platter for all ages.
The key to a successful platter is finding the right mix of spooky and functional elements. Choose easy-to-serve ingredients, make individual portions in advance and allow room for guests to serve themselves. These three edible designs will make your gathering look great, whether it's a family affair or a big Halloween party, without requiring complicated preparation.
Ingredients and Tools for Your Halloween Platter
Begin with a round of brie cheese, slices of cheddar or cheddar-jack cheese, thin slices of salami, various crackers, grapes, apple slices and fresh rosemary. Additional flavors and textures include black olives, pretzels, nuts, dried fruit and small bowls of honey or jam. To make a unified Halloween cheese board, pick a color scheme of orange, white, deep purple, and green.
You'll need a sharp knife, a cutting board, small cookie cutters and a large serving platter or wooden board. Use pumpkin-shaped cutters for cheddar, olives and herbs for facial details and stems. Have paper towels on hand to dry fruit and to wipe off excess moisture from ingredients before assembly.
The three edible designs are kept separate by a generous serving surface. The MALACASA Flora Platters Set of 3 is a coordinated set of platters for presenting cheese, cured meats and accompaniments separately. The MALACASA Ivory White 12 oz Small Salad Bowls Set of 8 is perfect for adding olives, nuts, dips and more to the main platter, keeping it organized and easy to serve.
Make a Mummy Brie
Mummy brie is an easy centerpiece that is impressive with little effort. Arrange a wheel of brie on a parchment-lined baking tray. Cut puff pastry into thin strips and wrap them loosely around the cheese like mummy bandages. Leave a small hole in the middle for the eyes.
Bake as directed on the puff pastry package until pastry is golden and cooked through. Don't wrap the pastry too tightly as the cheese will melt and expand in the oven. Let the brie rest for a few minutes before carefully placing it on your serving platter.
After baking, add two small edible eyes to the uncovered area. Small black olive pieces are great for a savory look, and candy eyes are fun for a playful design. Serve mummy brie with crackers, apple slices and grapes so guests can enjoy crisp or sweet contrasts with the creamy cheese.
For the best presentation, position the mummy brie near the center or toward one end of the platter. Place it among a few crackers, but not so many that the guests will have to cut into the cheese and mess up the other decorations.

Cut Cheddar Jack-o'-Lanterns
Brightly colored cheddar jack-o'-lanterns provide a familiar Halloween theme for your platter. Use thick slices of firm cheddar or cheddar-jack. Use a small pumpkin-shaped cookie cutter to make neat cuts in the cheese. If you don't have a pumpkin cutter, use a sharp knife to cut basic pumpkin shapes.
Place the cheese pumpkins in an orderly row or place them between crackers and fruit. Take small pieces of black olive for eyes and noses, and thin strips of olive for smiling, crooked or spooky mouths. Green bell pepper can be used as stems when cut into small pieces.
Keep the decorations simple to keep the cheese easy to pick up and eat. Gently mold facial details into the cheese to keep them in place and chill the decorated cheese until assembly. These playful pumpkins create a classic orange-and-black Halloween look without requiring additional cooking.
To add some variety, mix in various colors of cheddar or mix pumpkin-shaped cheddar with regular cheese cubes. This provides multiple convenient serving options without compromising the Halloween cheese board's festive look.

Fold Salami into Small Pumpkins
Salami pumpkins offer a savory alternative to the cheese decorations. Select thin, flexible slices that will not tear when folded. Fold each slice in half and then in a loose fan or wedge. Arrange several folded slices in a circle, overlapping the edges so they form a small pumpkin shape.
To create a more formal design, place the folded slices around a small overturned cup or round mold. When the shape is finished, carefully place it on the platter. Sprinkle a little rosemary or parsley on top to give the illusion of a pumpkin stem. A small slice of green bell pepper is also good.
Make multiple small salami pumpkins rather than one large. Smaller pieces are easier to serve and can be spread out around the platter to even out the cheese decorations. Combine salami with cheddar, crackers, olives and grapes for a variety of flavors and textures.
If the salami slices are too stiff to fold, let them soften briefly at room temperature, then shape them and return them to the refrigerator. Flexible slices are easier to shape, but the decorations should be kept cold until serving.

Assemble the Platter in a Practical Order
Start with the biggest pieces on the serving plate. Place the mummy brie first, then the salami pumpkins and bunches of cheddar jack-o'-lanterns. These three designs establish the layout and help you determine how much space remains for the other ingredients.
Then place small bowls of olives, nuts, dips or jam. Add crackers, breadsticks, grapes, apple slices and pretzels to the rest of the spaces. Don't pile crackers together; arrange them in short rows. This will make the board more user-friendly and will help to preserve delicate decorations.
Spread colors out to avoid a clumped appearance. The color contrast is provided naturally by orange cheese, red salami, dark olives, white brie and green herbs. When serving a large party, serve food on several plates rather than on one plate. The ideal Halloween snack platter is organized, visually appealing, and not overcrowded.
Prepare Ahead and Keep the Food Chilled
Planning ahead makes Halloween entertaining much easier. Slice the cheese pumpkins, wash the fruit, fill the dips and assemble the small bowls a few hours in advance. Store the ingredients separately in covered containers in the refrigerator. Salami pumpkins can be formed in advance and stored in the refrigerator until ready to assemble.
Make the mummy brie just before serving to keep the pastry crisp and the cheese warm. Add crackers just before guests arrive to keep them crisp.
Refrigerate perishable foods until they are used. A general food-safety guideline is that perishable foods should not be left at room temperature for more than two hours or one hour if the temperature is above 90°F (32°C). For longer parties, serve smaller portions and replenish them from the refrigerator rather than leaving the entire board out.
Fix Slipping Faces, Damp Crackers and Crowded Platters
Cheese may soften and cause small decorations to move. To prevent olive faces from sliding off the cheddar pumpkins, pat the cheese dry before decorating and press into place. Refrigerate the finished cheese until ready to serve. Most of the time, small, flat facial elements are easier to keep in place than thick toppings.
Wet fruit, dips and moist cheese are common causes of damp crackers. Separate these ingredients and add crackers just before serving. Gently pat the fruit dry with a clean paper towel if condensation forms on the fruit before placing on the platter.
If your Halloween charcuterie board looks crowded, remove a few ingredients rather than forcing everything into the available space. Move any extra crackers, fruit or cured meats to another plate and add more to the main plate as necessary. The edible designs are more easily identified and the food is more easily served in clear groupings and open spaces.
Halloween Charcuterie Board Planning FAQs
Q1: How Much Food Should I Prepare for a Halloween Charcuterie Board?
For a light appetizer, plan about 2–4 ounces of cheese and meat per person, as well as crackers and other side-dishes. Prepare more if the platter is the primary food offering.
Q2: Can I Make a Halloween Charcuterie Board Without Meat?
Yes. Replace the salami pumpkins with folded cucumber slices, roasted red pepper strips, or pumpkin-shaped pieces of bell pepper. Include additional cheeses, nuts, fruit, hummus and crackers for variety.
Q3: Can I Make the Whole Platter Ahead of Time?
Prepare individual components in advance and keep them refrigerated. Put the platter together near the time of serving to avoid soggy crackers, moisture and loss of freshness.